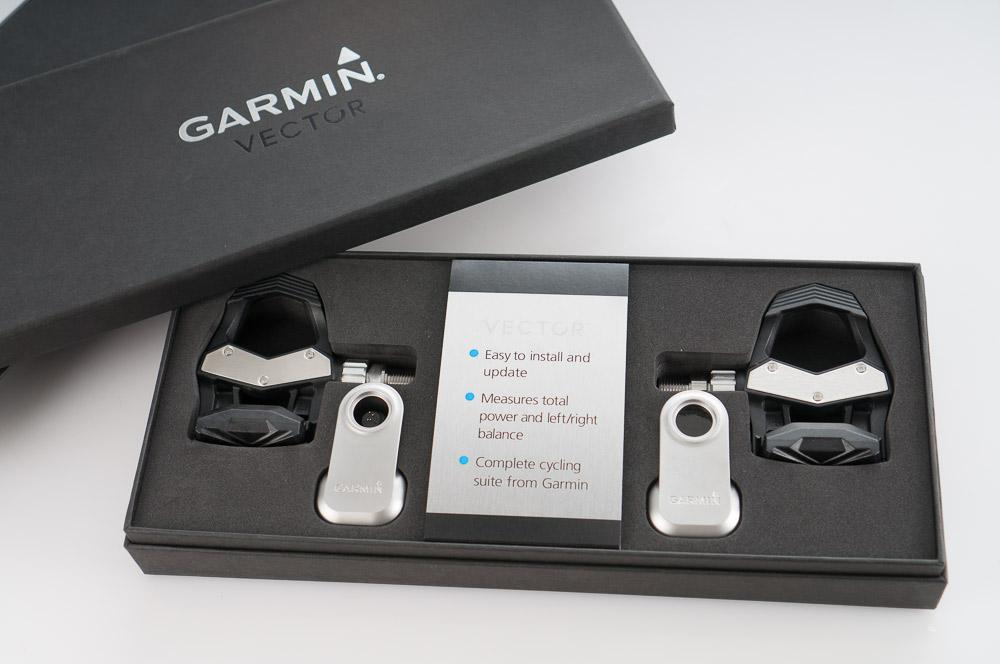
The Vector pedal-based power meter from Garmin is one the most hotly anticipated and in-demand systems on the market, for good reason. The promise of a truly portable power meter that can be brought wherever you go and easily switched between bikes without excessive baggage fees, complicated setups, or specialized mechanical skills is compelling, and the Vector largely comes through, with a few important caveats. There are a few steps required beyond just throwing on the pedals and riding, but with a bit of practice, the difference becomes largely negligible.
Notes on compatibility:
Vector has been designed to work with nearly any bike/crank combination. There are, however, a few edge cases where incompatibilities will arise, and they all have to do with clearance issues with the communications pods, which need to fit with a little room to spare. The critical measurements are:
- Crank arm height:38mm
- Crank arm width: 15mm
- Chain-crank clearance: 5mm
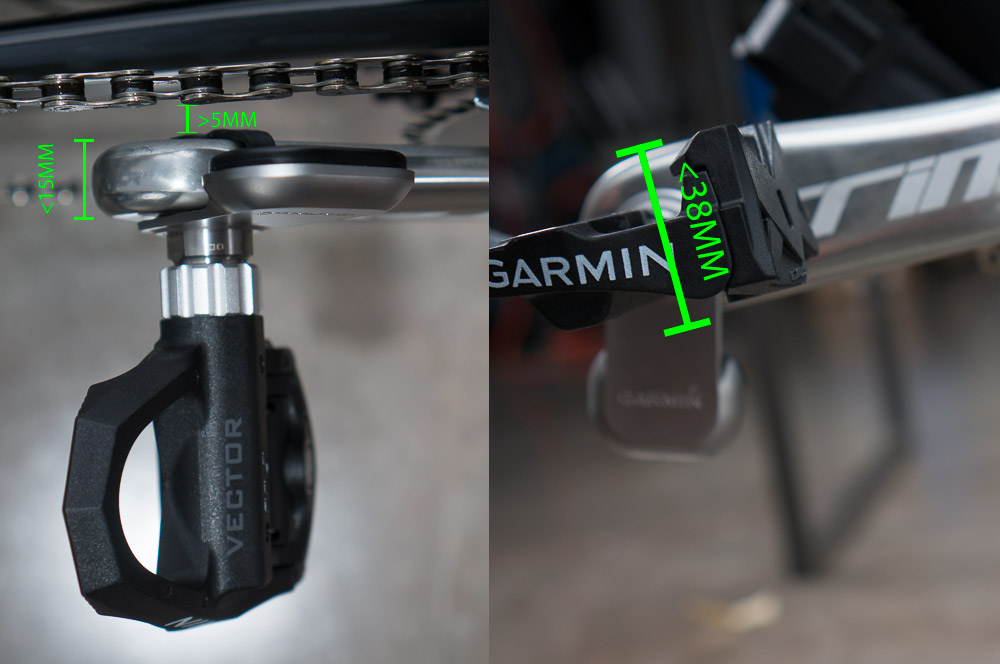
The vast majority of bikes and cranks will fall under these specs, but it’s important to verify them so you don’t have any nasty surprises when you go to install your brand new Vector.
Unboxing
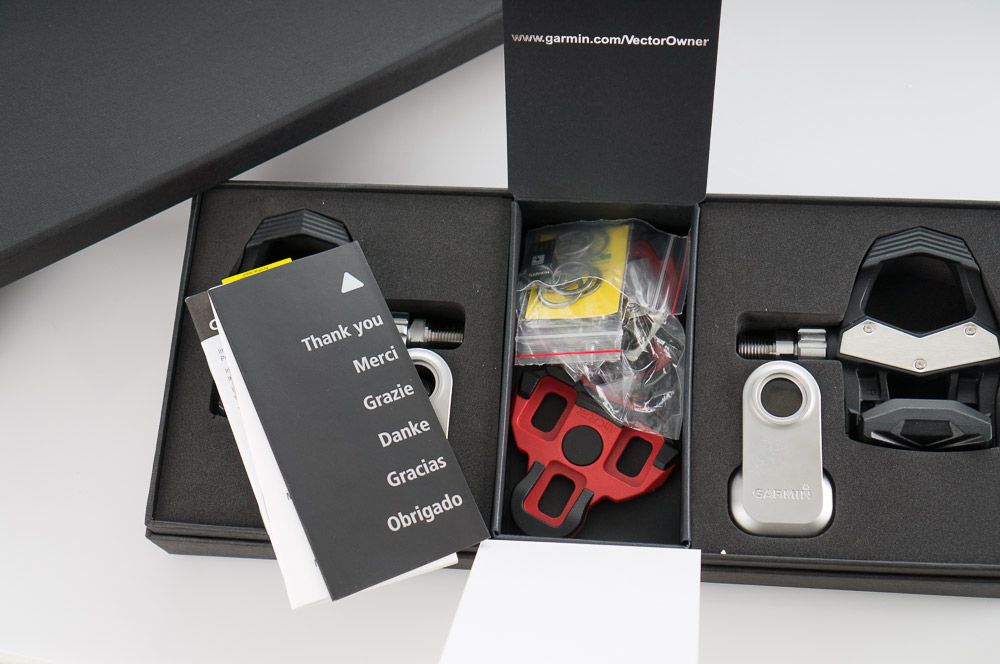
It’s obvious a great deal of attention has been payed to the “out of box experience,” befitting of a high-end piece of electronics such as this. Opening the sturdy and compact case (which has been designed to be a handy travel case for future use), you’re greeted with the pedals and communications pods, a thank you note, and a quick start guide. You’ll also find a set of LOOK Kéo compatible cleats set with 6° of float, a miniature ANT+ USB adapter, and washers to be used in installation (more on that in a second).
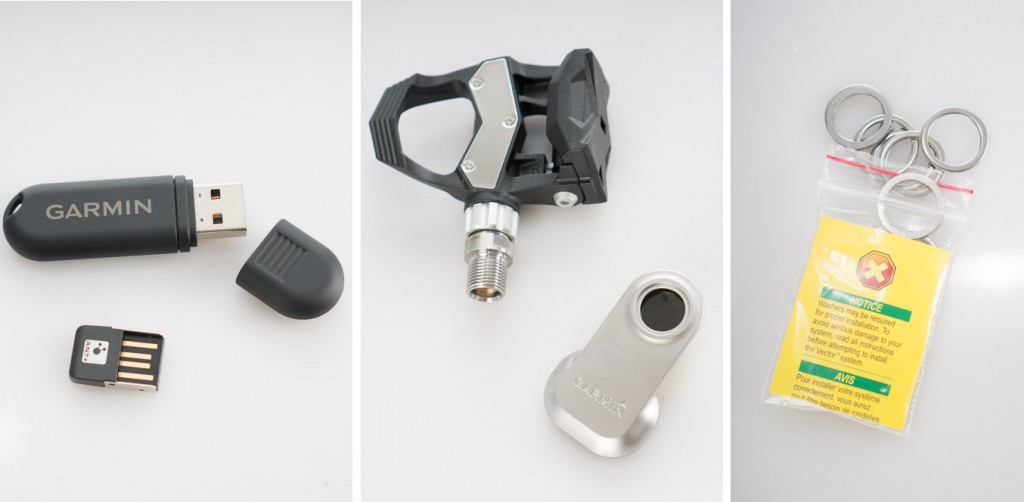
The main bits consist of the pedal body itself, which contains the actual strain gauges, and the pedal pods that house the communications electronics and antennae. They are separate pieces in order to allow for flexibility in installation. The right and left pedals are factory paired in a master/slave fashion, meaning that it won’t work to split them up between two bikes: both pedals are required for a functioning system.
The washers are used to compensate for differences in crank construction. The pedal pods need a tiny bit of clearance away from the mounting surface of the crankarms – some cranks (like Campagnolo) have a protruding surface that supplies that for you. Others (like Shimano), tend to have a slightly recessed surface. For those instances, you’ll want to install one or two washers to get the gap that keeps the pedal pods from being damaged due to over tightening.

Installation
To install the Vector on your bike, all you need is a pedal wrench. If you want to ensure the highest possible level of accuracy, a torque wrench that can measure up to 24 ft-lbs or 40 newton-meters is handy, but not strictly necessary. If you go the torque wrench route, you’ll need to also pick up a “crow-foot” adapter that’s thin enough to fit between the pedal body and crankarm (many are just a bit too thick).
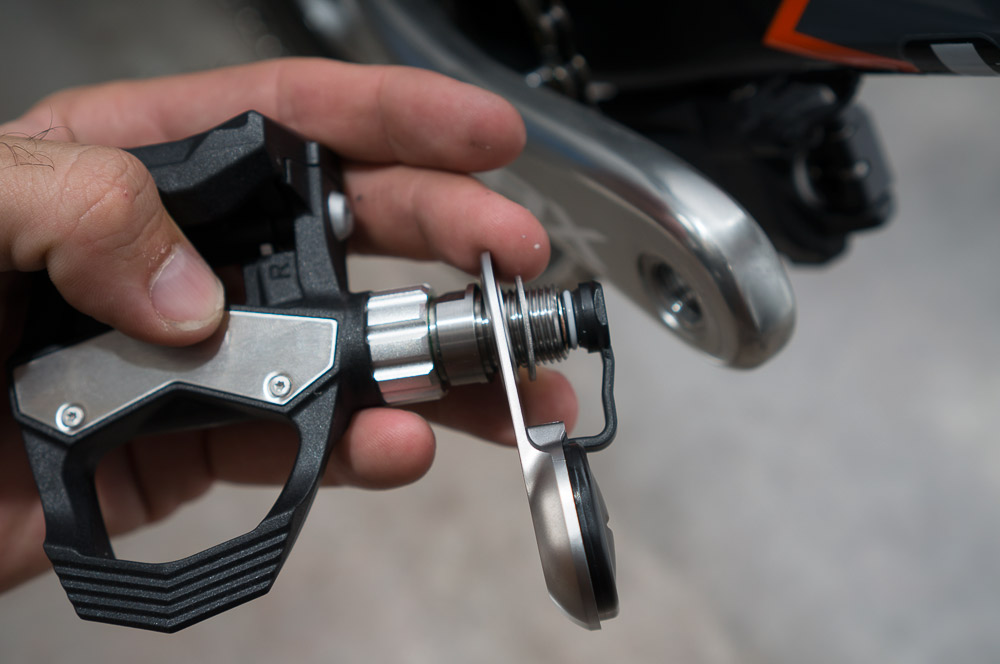

Just like all pedals, Vector is threaded differently for right and left sides. Starting on either side, grab the pedal body and make a power-meter sandwich consisting of the pedal>pedal pod>washer(s). Make certain the threads on both the crank and spindle are clean, put a bit of grease on the threads, and hand tighten until the pedal is just snug against the crank. Verify that there is a little bit of a gap between the pedal pod and crank arm. Attach the pedal pod connector cable to the spindle at this point – you should feel a positive “click” when the head of the connecter is seated in the spindle. Now, rotate the crank arm until it is parallel to the ground in the 3 0’clock position (pointing forward) in order to position the pedal pod for final tightening.
The pedal pod will be accurate no matter what position it’s placed in, but to minimize interference with clipping in/out, it’s generally best to have it pointing down when the crank is pointing forward. After you’ve got it in your preferred position, grab your wrench and tighten, being aware that it will rotate a bit as you snug it down. If you’ve got a torque wrench/crowfoot combination, set it to 25 ft-lbs or 34 newton-meters. If all you have is a standard pedal wrench, tighten it “harder than you think, but not as much as you could.” 34 N m is tighter than you would generally tighten a pedal, but that level of torque is required to ensure accuracy in power measurements. It is possible to over tighten and damage the Vector, however, so don’t go nuts.
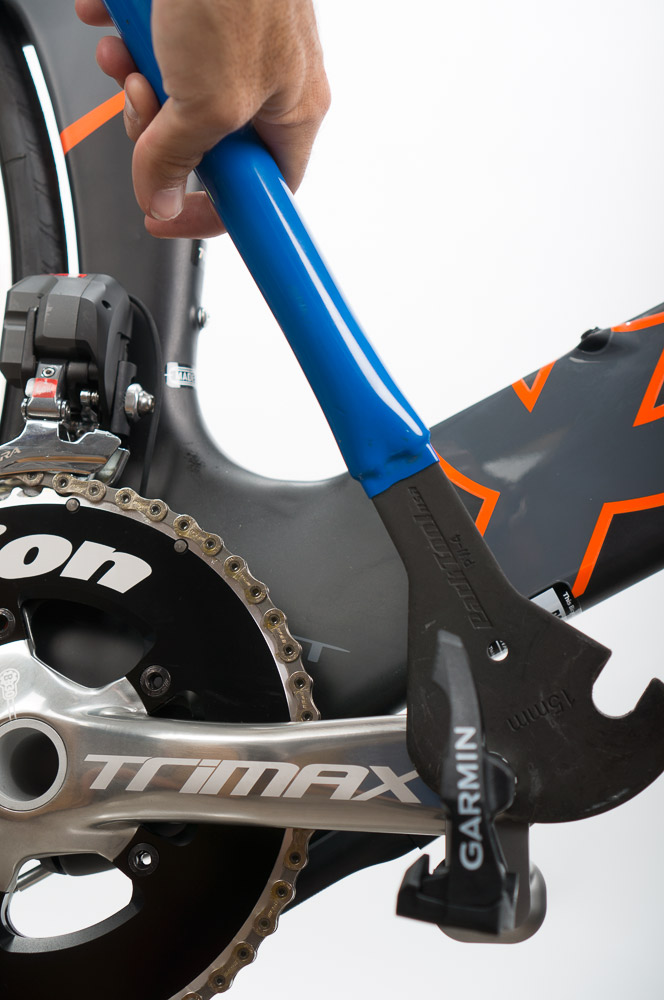
Once both sides are installed, there are a few more steps to follow to ensure proper calibration. You’ll need to perform these the first time you set the bike up, each time you move the pedals to a new bike, and any time you replace the batteries/update the firmware.
Calibration
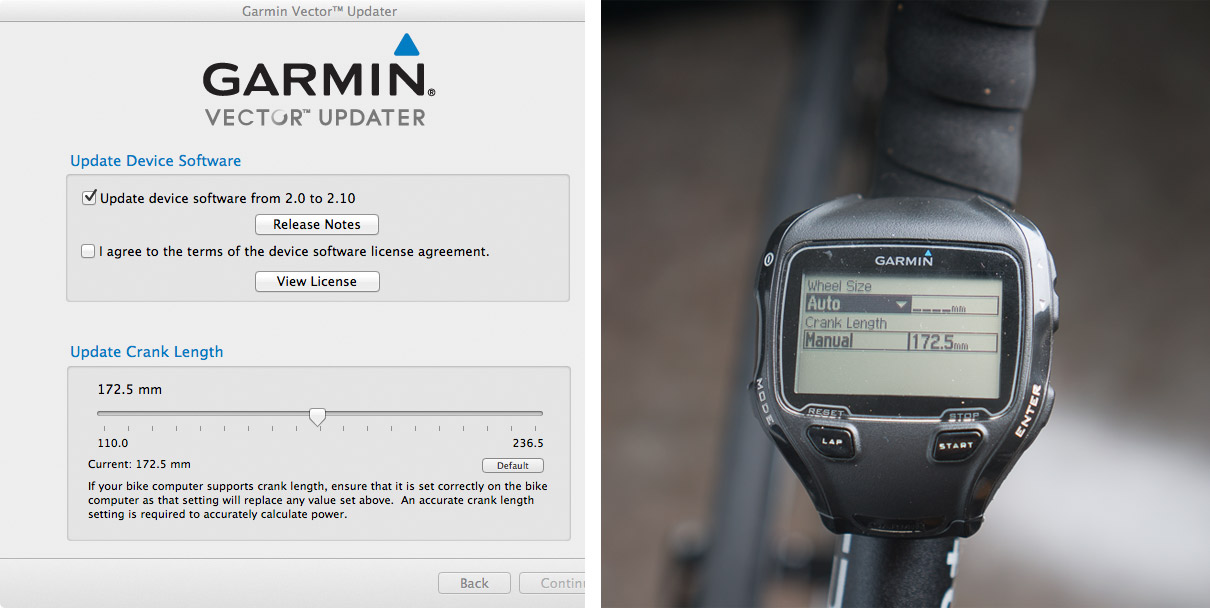
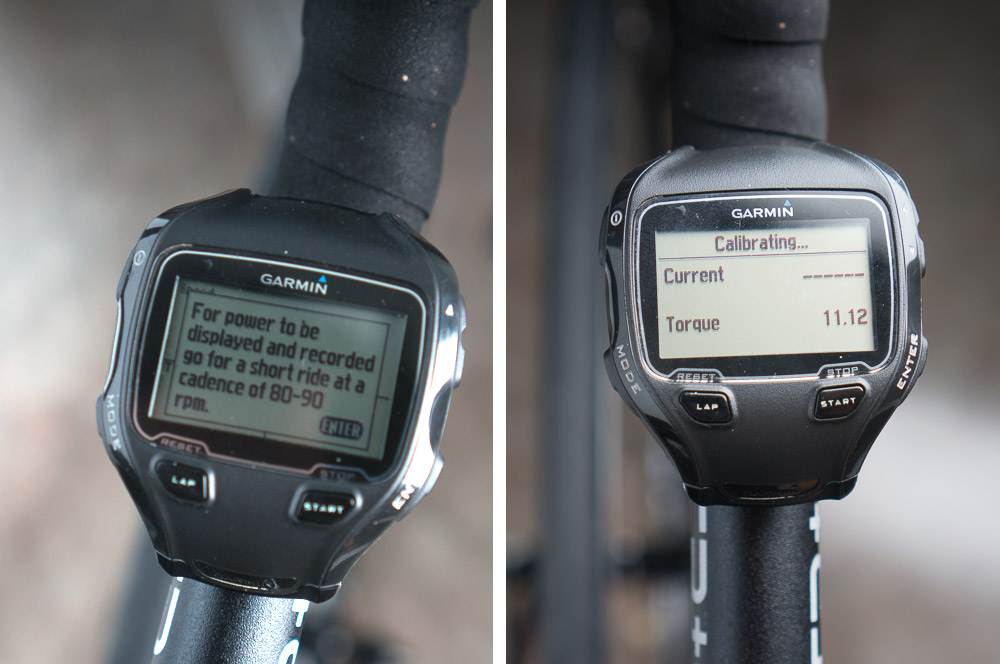
Each time the pedals are installed on a new bike, you have to tell the system what angle the pedal pods are mounted in. This is called “setting the installation angles” and it’s a simple procedure. If you have a newer Garmin head unit, it will walk you through the procedure, but it is the same no matter what ANT+ head unit you use. Simply go for a ride (on a trainer or outside) and bring your cadence up to ~80-90 rpm. After a few seconds, Vector will read the installation angles and start sending power data. You’ll also want to ensure your crank length is set properly – it is preset to 172.5mm, but you can change it through either the head unit, or downloadable software for you PC or Mac.
For maximum accuracy, you’ll want to do an addition calibration every time you ride (just like with any power meter). While unclipped from your pedals, perform a zero-torque calibration according to the instructions of your ANT+ head unit. For newer Garmins, you are prompted to do this each time you connect to your device. Vector also allows for an additional calibration each time you pedal backwards 5 or more times, and Garmin recommends doing that at least once per ride as well.
Wrap-up and further reading
And that’s it! With a little practice and the right equipment, installing and traveling with Vector is nearly as simple as any other pedals, opening up many possibilities for use. For more information, check out our Vector product page, which has detailed installation videos and documentation on usage. Garmin has also set up a mobile-optimized owners’ site for easy reference on the go or in your bike shop. And as always, feel free to call us with any questions you may have.
